
博客篇:TwiKoo实现评论图片点击放大 🖼️✨
前言 💬
之前博客写过一篇配置文章,里面有讲解如何集成TwiKoo评论系统。
不过TwiKoo默认是不支持图片点击放大的,但是fuwari主题默认是支持图片点击放大的。
那么这就非常好实现了💡,也不需要引入其他的插件了🙌。
开始实现 🛠️
修改配置文件 ⚙️
通过阅读代码发现fuwari主题是用的PhotoSwipe插件实现的图片点击放大🔍。
具体代码在src/layouts/Layout.astro文件中配置:
function createPhotoSwipe() {
	lightbox = new PhotoSwipeLightbox({
		gallery: ".custom-md img, #post-cover img, .tk-content img",
		...
	)}
}
首先需要在gallery中添加TwiKoo评论区域img标签图片所在的父元素ID或者class属性。
我这里就直接在原本基础上加上了:.tk-content img 🧩。
但是由于我们的评论组件是 动态加载 的⚡,所以想让图片点击生效还需要添加一行代码,将createPhotoSwipe方法绑定到window对象上。
function createPhotoSwipe() {
	lightbox = new PhotoSwipeLightbox({
		gallery: ".custom-md img, #post-cover img, .tk-content img",
		...
	)}
}

(window as any).createPhotoSwipe = createPhotoSwipe;

...
修改评论组件 💻
虽然实现了点击放大🖱️,但是鼠标移入图片的时候,鼠标应该变为放大镜🔎,所以还需要修改评论组件,添加样式。
需要在script代码里面动态添加上样式代码🎨:
// 动态创建样式并添加到页面
const style = document.createElement('style');
style.textContent = `
                        .tk-content img {
                            cursor: zoom-in;
                            transition: opacity 0.2s ease;
                        }
                        .tk-content img:hover {
                            opacity: 0.9;
                        }
                     `;
document.head.appendChild(style);
console.log("动态样式已添加到页面");
然后在评论组件init方法中的onCommentLoaded事件中调用刚刚为window对象绑定的方法⚙️。
twikoo.init({
    envId: commentConfig.twikoo.envId,
    el: '#tcomment',
    region: commentConfig.twikoo.region,
    path: location.pathname,
    lang: commentConfig.twikoo.lang,
    onCommentLoaded: function() {
        console.log('Twikoo comments loaded successfully');
        if (window.createPhotoSwipe){
            window.createPhotoSwipe();
        }
    }
});
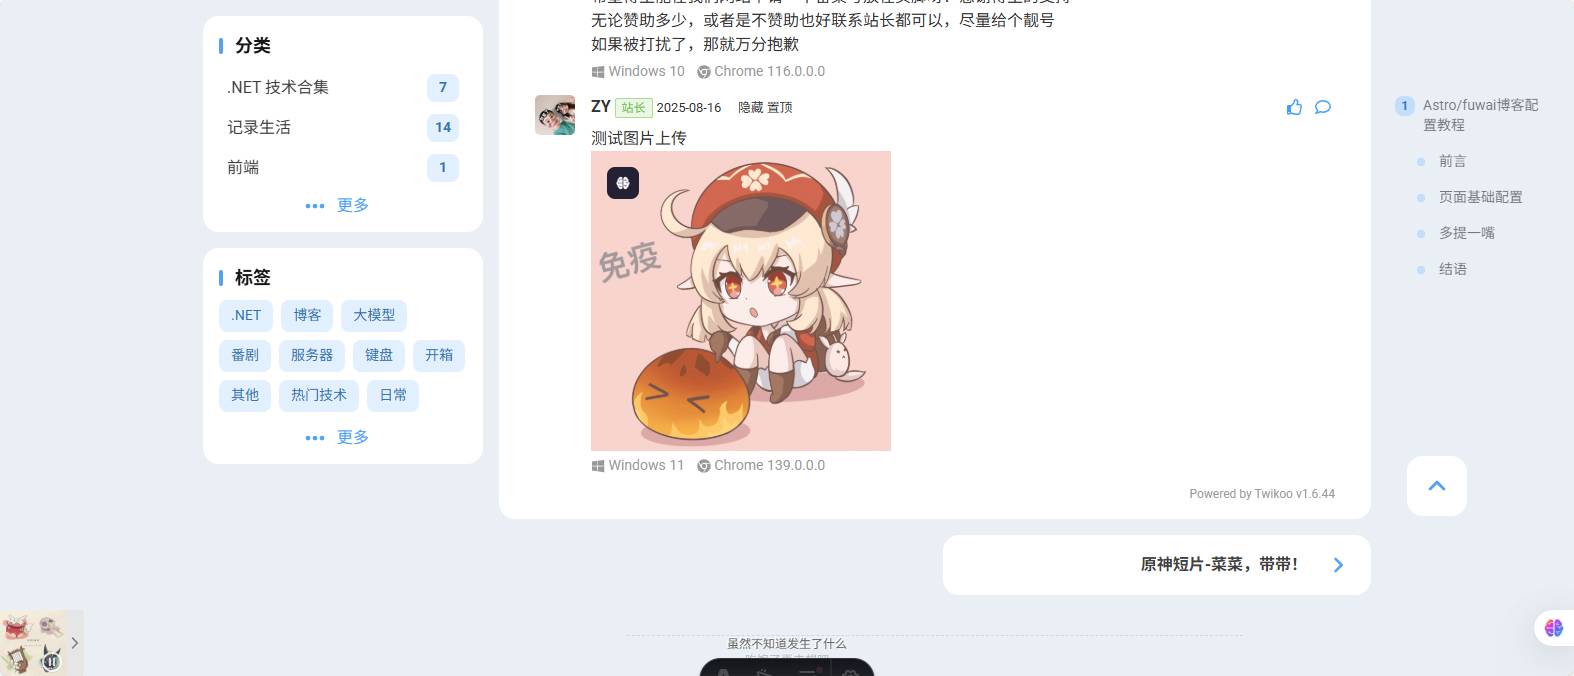
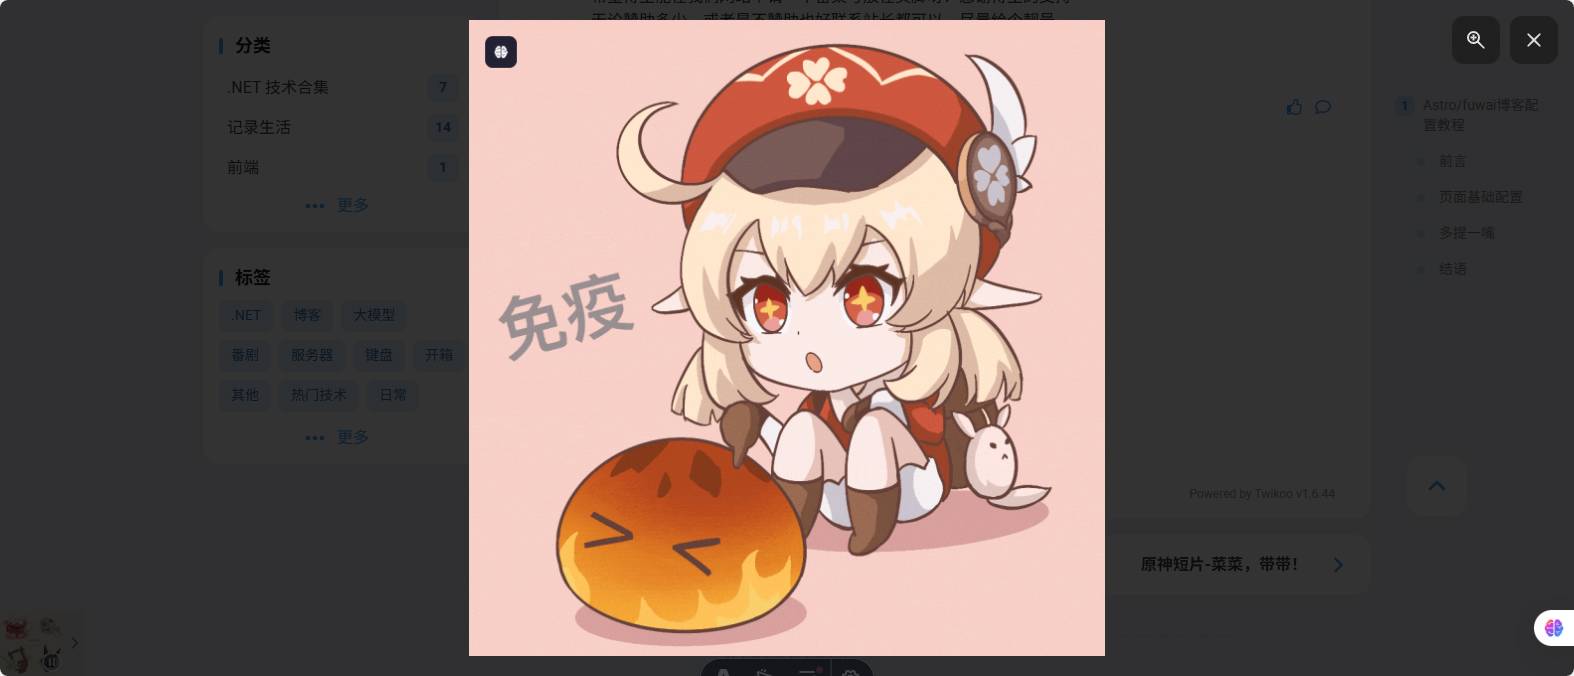
这样就完成了评论组件里面图片的点击放大功能 🎉。
效果展示 👀
总结 📝
对于fuwari主题的博客,在集成twikoo后,
想在评论区实现图片点击放大,只需要修改Layout.astro文件和评论组件就行了💪。
当然这只是其中一种方式,还有很多方式可以实现评论区图片点击放大 🌈,有更多更好的实现方式可以在评论区留言~ 💬
参考链接 🔗
- 本博客
Github地址:https://github.com/ZyPLJ/fuwai_zyplj - 原作者开源地址:https://github.com/saicaca/fuwari
Astro/fuwai博客配置教程